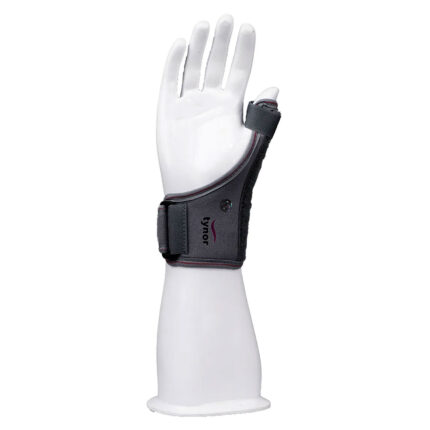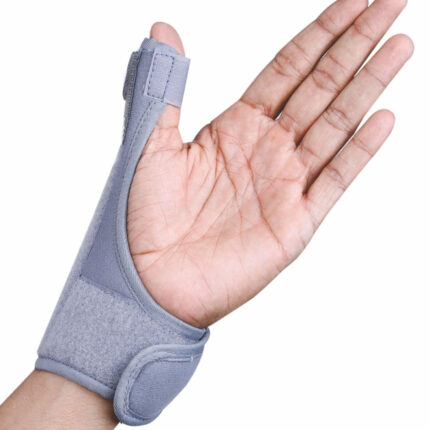


Lumbo Sacral Belt (LSB-03AF)
To measure the circumference around the chest below the underarm
| Size | Small | Medium | Large | X-Large | 2X-Large | 3X-Large |
|---|---|---|---|---|---|---|
| Inches | 28-32 | 32-36 | 36-40 | 40-44 | 40-44 | 44-48 |
| CM | 70-80 | 80-90 | 90-100 | 100-110 | 100-110 | 110-120 |
Select options
This product has multiple variants. The options may be chosen on the product page
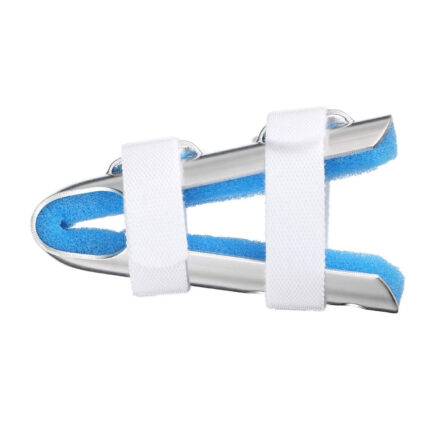
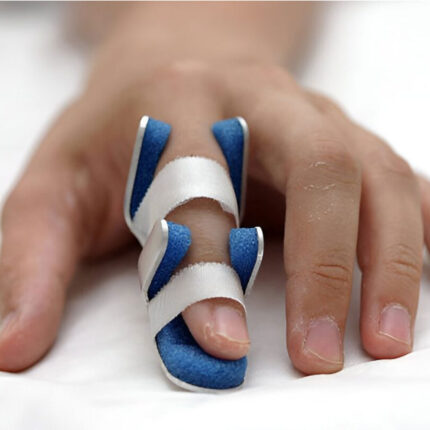

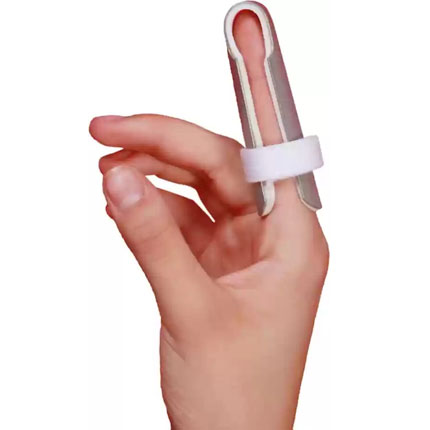
Mallet Finger Splint { MFS-04UN }
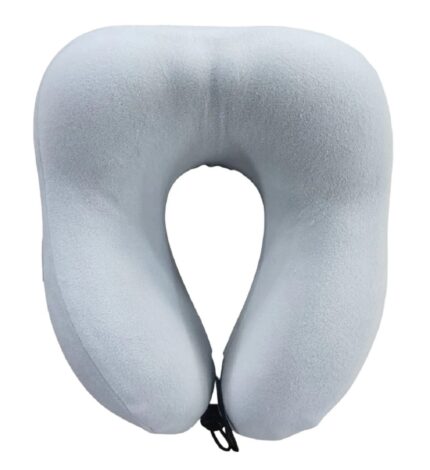
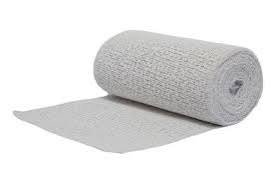
Plaster Of Parries { POP }
APPLICATINDIATION FOR USE
Orthopedic Casts & Splints – Used to immobilize fractures, sprains, and post-surgical limbs for proper healing.
Orthotic & Prosthetic Molds – Helps create customized limb supports and prosthetic molds.
Corrective Splints – Used in clubfoot treatment (Ponseti method) and other deformity corrections.
Surgical Dressings & Supports – Provides rigid support for post-surgical protection of injured areas.
Select options
This product has multiple variants. The options may be chosen on the product page
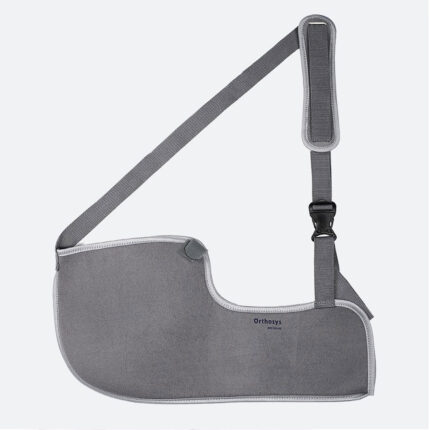
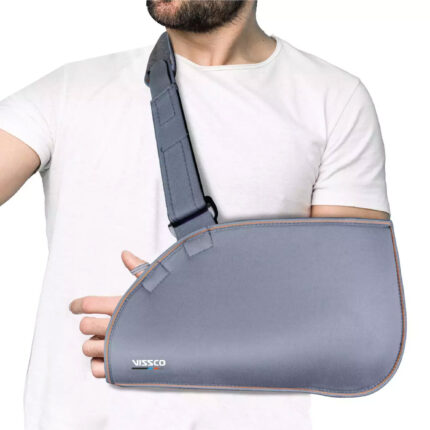
Pouch Arm Sling (PAS-02AE)
To measure the circumference around the chest below the underarm
| Size | Child | Small | Medium | Large | X-Large | 2X-Large |
|---|---|---|---|---|---|---|
| Inches | 22-28 | 27-31 | 31-35 | 35-40 | 40-44 | 44-48 |
| CM | 55-70 | 70-78 | 78-89 | 89-100 | 100-110 | 110-120 |
Select options
This product has multiple variants. The options may be chosen on the product page


ROM Knee Brace (RKB-06UN)


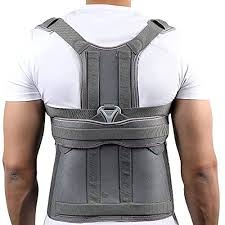
Taylore Brace { Long / Short Type }
Postural Support – Helps correct poor posture and provides spinal alignment.
Mild to Moderate Kyphosis – Supports the upper back to prevent excessive forward curvature.
Thoracic & Lumbar Spine Injuries – Supports healing after fractures or soft tissue injuries.
Post-Surgical Spinal Immobilization – Helps stabilize the spine after surgery.
Compression Fractures – Reduces pain and movement for better recovery.
Chronic Back Pain – Provides relief by reducing strain on muscles and ligaments.

test variable product updated
| Prepare the Patient | |||||
| Have the patient sit on a stable surface with their leg extended. | |||||
| Ensure the foot is clean and dry before application. | |||||
| A thin sock or stocking may be worn to prevent skin irritation. | |||||
| 2. Position the Splint Properly | |||||
| Slide the foot into the splint so that the heel is securely positioned at the back. | |||||
| Ensure the ankle is aligned correctly within the brace. | |||||
| The splint should hold the foot at a 90-degree angle to prevent plantar flexion (foot drop). | |||||
| 3. Secure the Straps | |||||
| Fasten the ankle strap first to stabilize the foot in place. | |||||
| Adjust the calf strap (if present) to provide additional support without restricting circulation. | |||||
| Make sure the straps are snug but not too tight—they should hold the foot securely without causing discomfort or numbness. | |||||
Select options
This product has multiple variants. The options may be chosen on the product page